Adding a WCF website to IIS
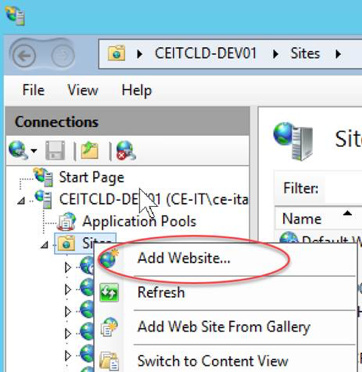
Log on to your server using an administrator account and open up Internet Information Services. After opening up IIS, choose to add a new website by right clicking sites within IIS and select Add Website.
Fill in the dialog
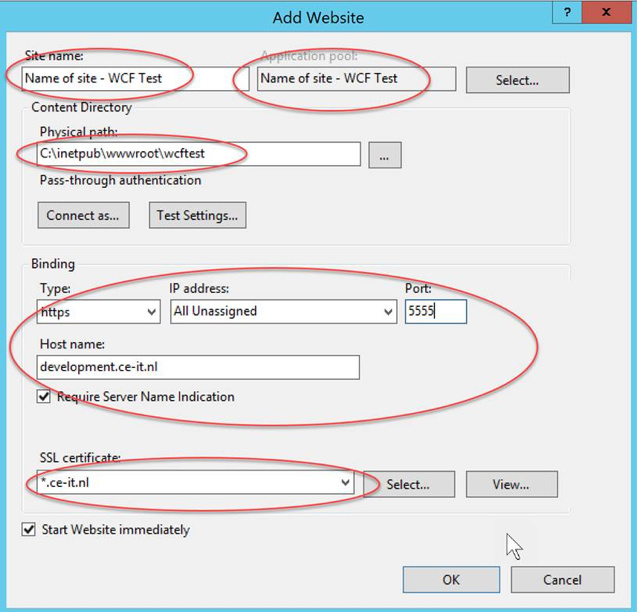
Fill in the dialog as it appears, below is a screenshot of our working example but first the stuff that you can fill in:
- Site name: this can be any name in text.
- Application Pool: by default a new one gets created however you can choose to use the default one, either will work.
- The physical path is the path where you have placed the received files for the WCF service. This package includes a service.svc and web.config file.
BINDINGS
- Type: you can use any of the protocols listed there, however we strongly recommend to always use HTTPS.
- IP Address: to which IP this website will bind itself, All Unassigned is most common but it really depends on the architecture your IT department has in mind.
- Port: website listening port, combination of hostname, ip assignment and port has to be unique else it cannot start the website.
- Hostname: in case of non-unique port it has to be unique and Require Server Name Indication needs to be turned on if that’s the case.
- NOTE THAT YOU ARE FREE TO USE YOUR REGULAR SETTINGS IN IIS! THIS IS JUST AN WORKING EXAMPLE.
- SSL Certificate: shows certificates in the store, use a valid one that aligns with your settings as you put them up within the bindings.
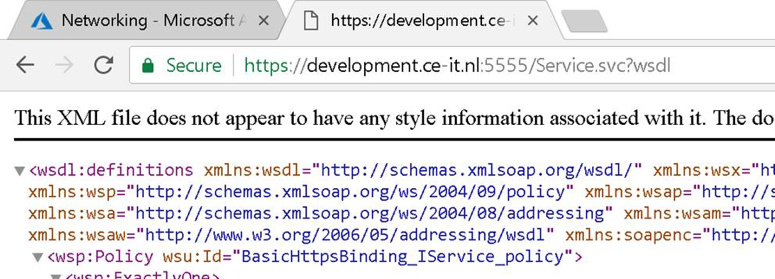
Once you have filled in the above, and placed the correct files in a IIS designed directory, you can start the website and check the URL you created to see if it works. Should look like this: