Setting controls for dynamic windows
Building a dynamic window is just one part of the proces. We also need to provide additional information to MA!N so that people can use the window(s).
Part 1: adding the new window to the database
The first step is telling MA!N that there is a new window. This is done in the MA!N database with Microsoft SQL Server Management Studio (SSMS).
We will edit the tables:
- [Commands]
- [Controls]
- [Security controls]
- [Security role controls]
Start SSMS and connect our “server name”. In the left column (Object Explorer), expand “Databases” by clicking the + sign, and do the same for the database that we will edit. Now, click the + sign at “Tables”. We adjust each table by:
- Right-clicking on the table.
- Selecting “Script Table > INSERT > New Query Editor Window”.
- SSMS opens a query window with standard SQL commands.
- Change the SQL code in the codes noted below.
Activating a dynamic window
There are two ways for activating a dynamic window in MA!N:
- Manually with the SQL command below.
- Automatically by first coding a dynamic form in MA!N in the “Edit command” window.
In most cases the dynamic form is first coded and saved in the [commands] table. In those cases it is not necessary to manually customize this table.
INSERT INTO    [Commands]
([Description], [Active], [Command])
VALUES    ('[from MA!N command description]', 1, '[XML from MA!N command text]')
Adjust Controls
When manually adding a dynamic form to MA!N we need to add the form ID to the [controls] table.
INSERT INTO    [Controls]
                        ([Control name], [Command ID Select])
VALUES    ('[unique name for the form, e.g. Form_Dynamic1234]',
                [Command ID from MA!N commands window, see table below])
Note that the mandatory prefix “Form_Dynamic” is required with the [Control name], followed by a unique number for this dynamic form. Example: Form_Dynamic97654.
Security controls and activating windows
Adjust the table (Security controls) for manually activating a window:
INSERT INTO    [Security controls]
                        ([Security control ID], [Active])
VALUES    ('Form_Dynamic1234, zie table below', 1)
Adjust Security role controls
In the table [Security role controls] you set who can use the window. The table contains an entry for each role (Security role ID).
Note that the example SQL code below gives access to all roles defined in MA!N.
INSERT INTO    [Security role controls]
                        ([Security role ID], [Active], [Security control ID])
SELECT    [Security roles].[Security role ID], 1, 'Form_Dynamic1234' AS [Control name]
FROM    [Security roles]
The MA!N database is now ready to use the dynamic window.
Overview MA!N commands and SQL
This table shows the relationship between the MA!N command window and the SQL tables [Commands] and [Controls]:
| MA!N Commands | SQL [Commands] | SQL [Controls] |
|---|---|---|
| Command ID | Command ID | Command ID Select |
| Description | Description | – |
| Command | Command | – |
| Active | Active | – |
And the relationship between SQL tables [Controls], [Security controls] and [Security role controls]:
| [Controls] | [Security controls] | [Security role controls] |
|---|---|---|
| Control name | Security Control ID | Security Control ID |
Exceptions for pop-up windows
For dynamic windows that are only used as a pop-up in response to other windows, adjusting the tables [Controls], [Security controls] and [Security role controls] is not required. That’s also the case for the table [Commands], as this table has already been automatically updated while coding the pop-up window.
Part 2: limiting access to certain roles
In this step, we are activating a window for only certain roles.
- Quit MA!N, if running, restart the application and log in as administrator.
- Go to the menu bar “View > Configuration > Role controls”.
The window Role controls opens. This is divided into two parts. The top part contains the various function roles in MA!N and whether these are active. After selecting a role, the lower part of the window shows the controls that are linked to this role.
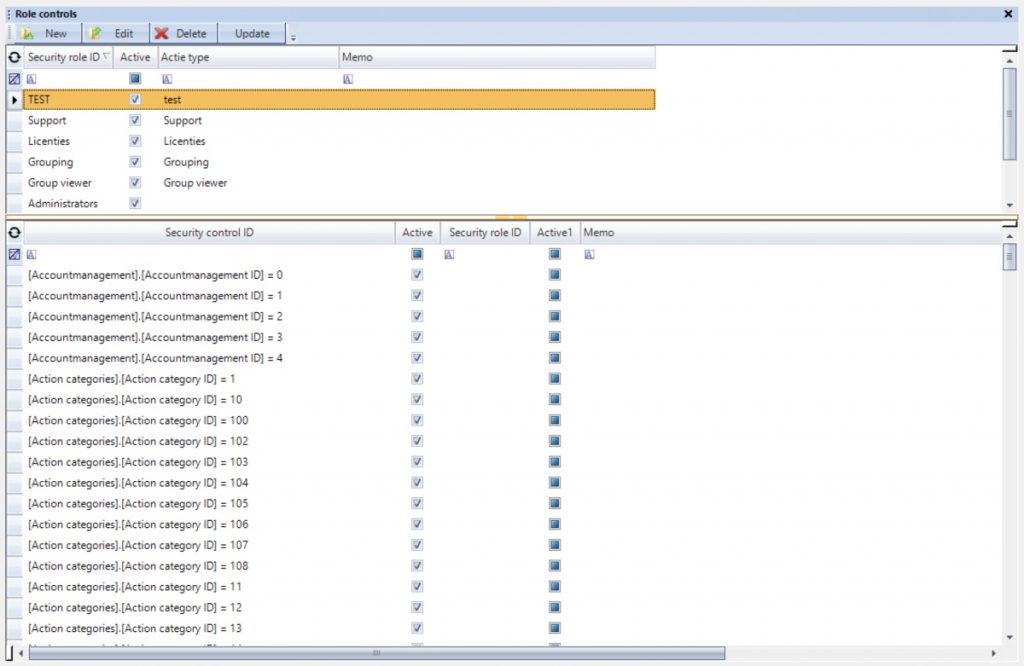
Suppose we want to check whether the role “Administrators” can use the “Control code” Form_Dynamic17 that we activated in Part I.
- Select the role “Administrators” in the top part.
- The lower part of the window now shows various controls. Search for (by using the filter option at the top of the column), and check if it is active for the administrator.
Part 3: Displaying dynamic window
The last step is displaying the window.
Go to the menu bar, select “View” and select the desired window (menu item). The window opens at a position, in the window container, that you might want to change.
Go to File in the menu bar and make sure that Docking Lock is unchecked. You can now drag and drop the window to the desired location. To save the layout go to menu bar “File > Docking Save Group”.
For more information about see: Adjusting the window settings and layout.